Task 1: Power on all devices
Ensure that all devices are plugged into power and are switched on. Refer to the Troubleshooting guide, for the different models of devices provided and how to turn the device on. There is no Username or Password required to login into each device, however if you do see a login screen – please select ENTER on the keyboard to login.
Task 2: Confirm Wi-Fi is connected
Ensure that the Wi-Fi is connected on each device, this should occur automatically but if it does not, please refer to the Technical Information Sheet for the Wi-Fi name and password.
The network status icon is located on the bottom right-hand corner of the computer screen.
![]()
- If Wi-Fi is connected correctly, you will see the Wi-Fi symbol
 displayed.
 - If Wi-Fi is not connected correctly, you will see the globe
 symbol.
 - To change or connect to a Wi-Fi network, click the Wi-Fi to view the list of available networks. Select the correct Wi-Fi network for the Test Centre (if you’re unsure, please confirm with the Chief Invigilator or Venue contact), then enter the password.
Task 3: Launch Janison Replay on student devices
Once the devices have all been switched on and confirmed connected to Wi-Fi, Invigilators must launch the Janison Replay app.
To open the application, double click the icon found on the desktop (home screen) of each computer.

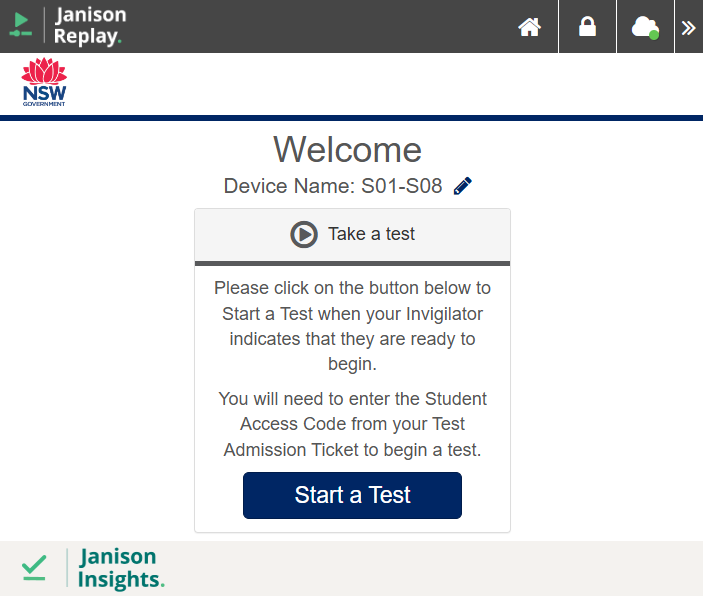
After launching the application, the screen shown below should appear, indicating that the application has opened successfully.
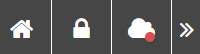
To confirm Wi-Fi connection, use the Cloud icon on the Replay Taskbar – this will display a green dot ![]() to indicate connected correctly, and a red dot
to indicate connected correctly, and a red dot ![]() if Replay is offline.
if Replay is offline.
Online

Offline
Task 1: Power on all devices
Ensure that all devices are plugged into power and are switched on. There is no Username or Password required to login into each device, however if you do see a login screen – please select ENTER on the keyboard to login.
Task 2: Confirm Wi-Fi is connected
Ensure that the Wi-Fi is connected on each device, this should occur automatically but if it does not, please refer to the First Invigilator Log-in sheet for the Wi-Fi name and password to connect to.
The network status icon icon is located on the bottom right-hand corner of the computer screen.
![]()
- If Wi-Fi is connected correctly, you will see the Wi-Fi symbol displayed.
- If Wi-Fi is not connected correctly, you will see the globe symbol.
- To change or connect to a Wi-Fi network, click the Wi-Fi to view the list of available networks. Select the correct Wi-Fi network for the Test Centre (if you’re unsure, please confirm with the Chief Invigilator or Venue contact), then enter the password.
Task 3: Launch Janison Replay on student devices
Once the devices have all been switched on and confirmed connected to Wi-Fi, Invigilators must launch the Janison Replay app.
To open the application, double click the icon found on the desktop (home screen) of each computer.
After launching the application, the screen shown below should appear, indicating that the application has opened successfully.
To confirm Wi-Fi connection, use the Cloud icon on the Replay Taskbar – this will display a green dot ![]() to indicate connected correctly, and a red dot
to indicate connected correctly, and a red dot ![]() if Replay is offline.
if Replay is offline.
Online
Offline
Task 4: First Invigilator creates a test session
Using the provided device, the First Invigilator must log in to the Invigilator Portal using their username and password. From this device, the First Invigilator will create the Test Session for Student Check-In and the monitoring of the tests.
The Opportunity Class Placement Test and the Selective High School Placement Test require their own Test Sessions, so there will be a total of two Test Sessions created for each Section within a Test Centre.
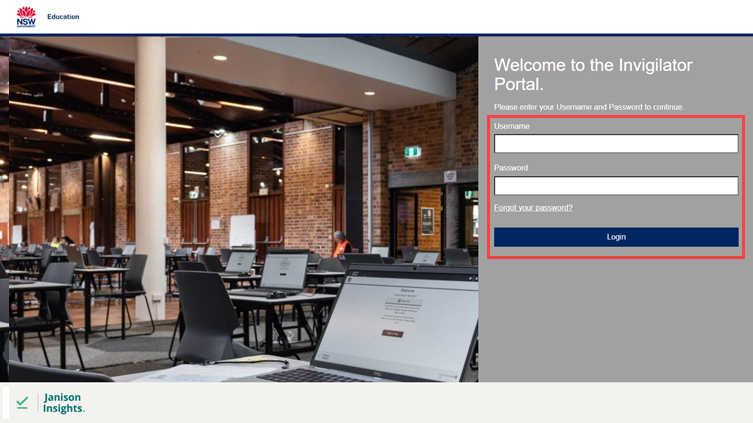
Using the Invigilator Device, open the Edge browser and navigate to the Invigilator Portal: https://se.insights.janisoncloud.com/.
Enter in you Username and Password and select Login.
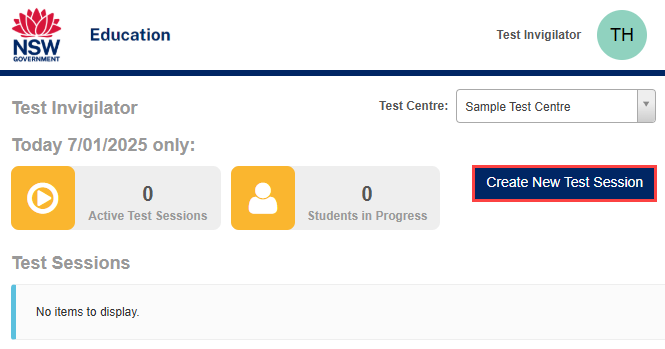
Once you log in you will see the Invigilator Dashboard.
Select Create New Test Session.
When the Create New Test Session pop-up appears, you must select the appropriate Assessment Event (e.g., Selective High School Placement Test or Opportunity Class Placement Test).
As you click into this field, an important note displays ‘Please make sure you select the OC event for the morning session and the SHS for the afternoon‘.
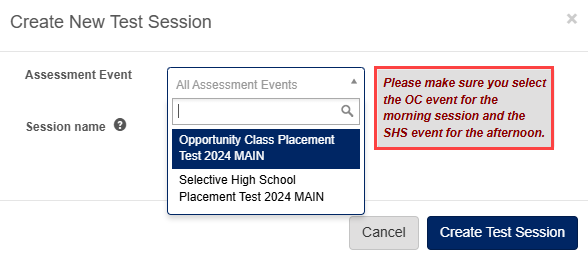
Next, enter a Session Name. This should correspond to the section number you are responsible for, such as Section 01.
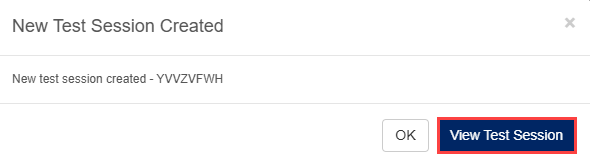
Select Create Test Session.

A confirmation pop-up appears; click View Test Session.
The Test Session Administration Dashboard is displays. Note the Session name is displayed at the top.
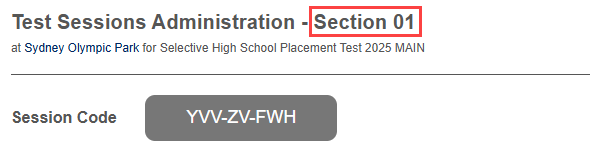
The Test Session is now ready for Student Check-In.
Repeat these steps for the afternoon session, to create a new Test Session for the Selective High School Placement Test.