First Invigilator:
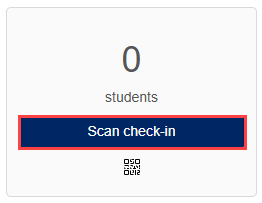
Select the Scan check-in button to begin scanning the QR code on student TATs.
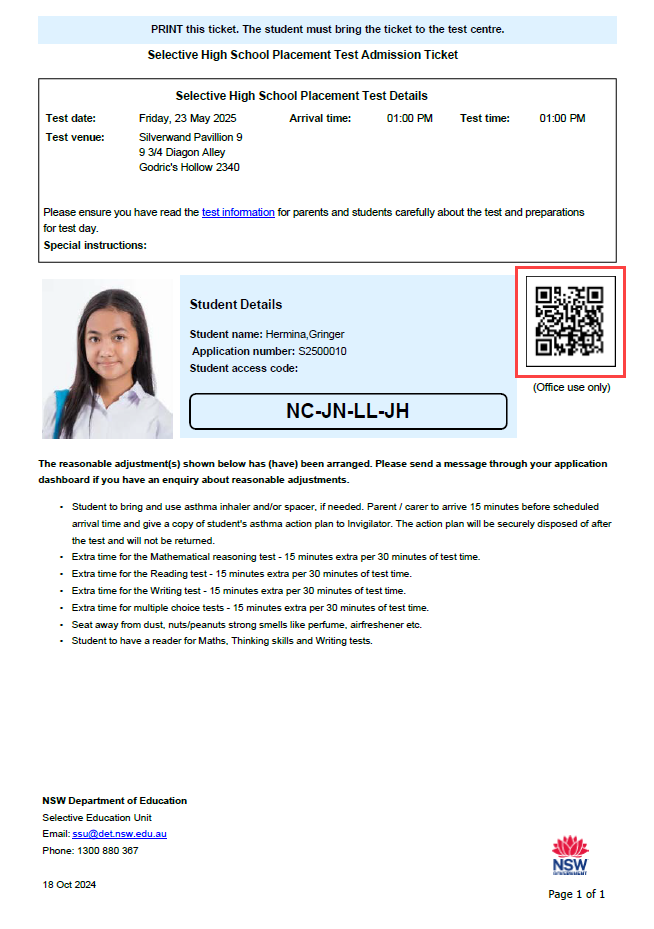
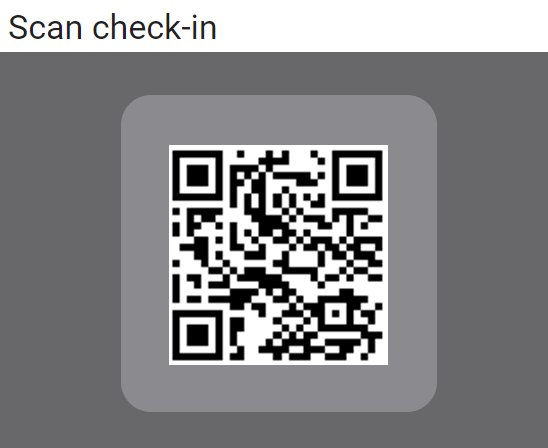
A window displays showing the camera on the device, use this to scan the students QR code on the Test admission ticket.
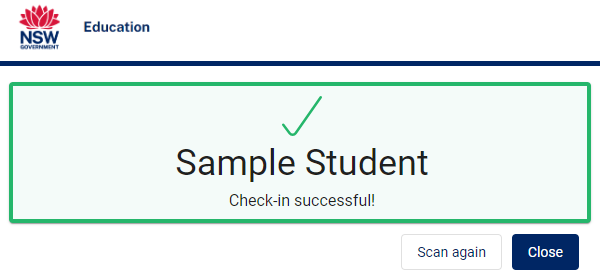
A successful check-in
A successful check-in will display in green and create a link between the Invigilators Test session and the student. Student names will be listed upon the Test Session admin screen.
Students will then sit at a desk and when directed, start the test.
Assistance required
Students with reasonable adjustments should be directed to their section or their separate room when they enter the test centre. If that is missed at the front door then this scan will alert the Invigilator so they can get the appropriate support.
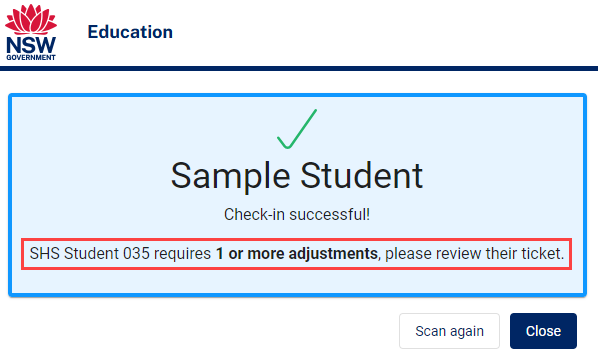
Students with Reasonable Adjustment
If a student has reasonable adjustments that do not require a separate room, this information will appear below the student’s name on the check-in screen, displayed against a blue background for easy identification.
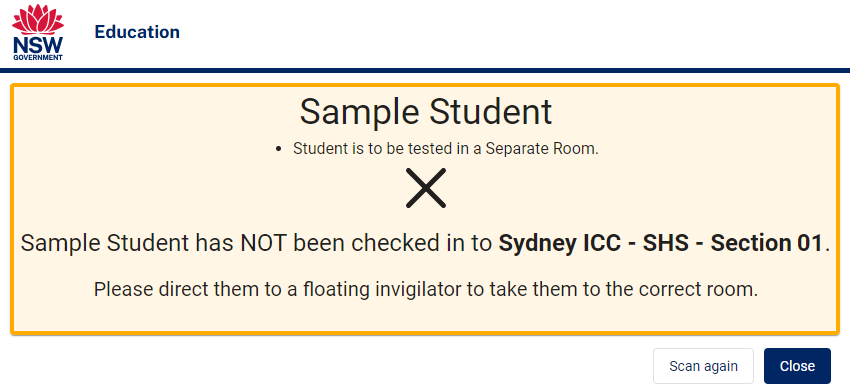
If a student has reasonable adjustments that require a separate room, a prompt displays to add the student to the session.

Selecting No will not check the student in and this message will display.
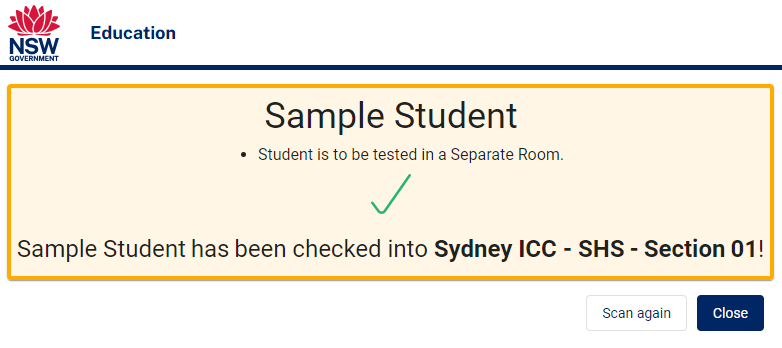
selecting Yes will check the student into the session successfully.
Failed Check-in
Any student not registered for the current session should be stopped at the entrance. Invigilators should direct the parent/carer and student’s attention to the test date written on their TAT.
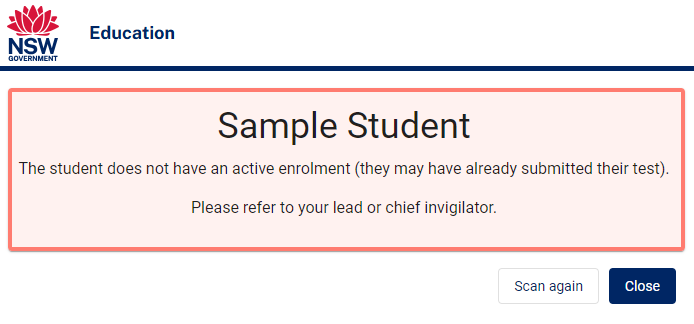
If a student that is not registered for the current test session is able to enter the test room, the check-in scan will notify the Invigilator that their details do not match the current session.
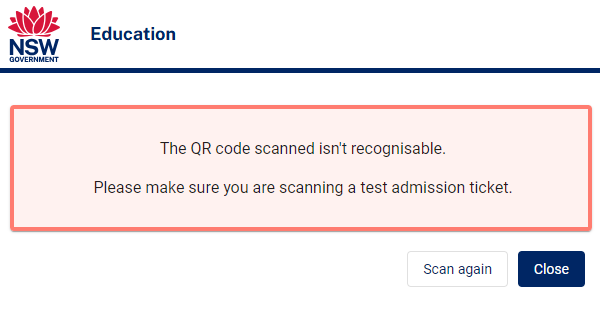
In the event of a faulty QR code, the check-in scan will notify the Invigilator that the QR code is not recognisable by the platform.
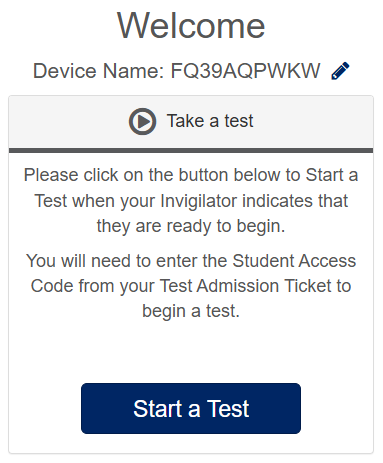
Once seated, students will use Janison Replay to complete their tests. Replay will already be open and displaying the Welcome and Start a test page.
Students will select Start a Test.
Students will then enter their Student Access Code provided on their TAT and select Next.
If a student enters the wrong Student Access Code, they will need to click in the first box to re-enter this code.

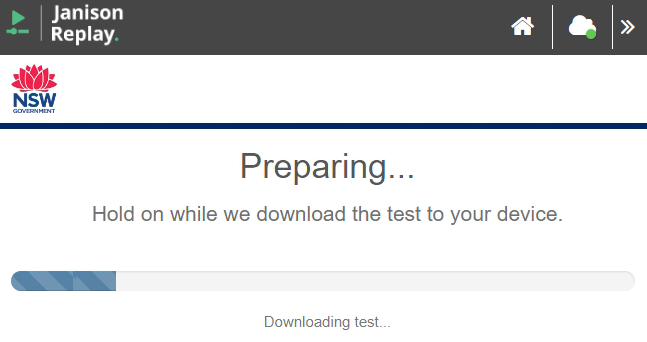
At the start of the student’s test, Replay will prepare the device ready for testing.
Students should follow the prompts and carefully read the instructions provided.

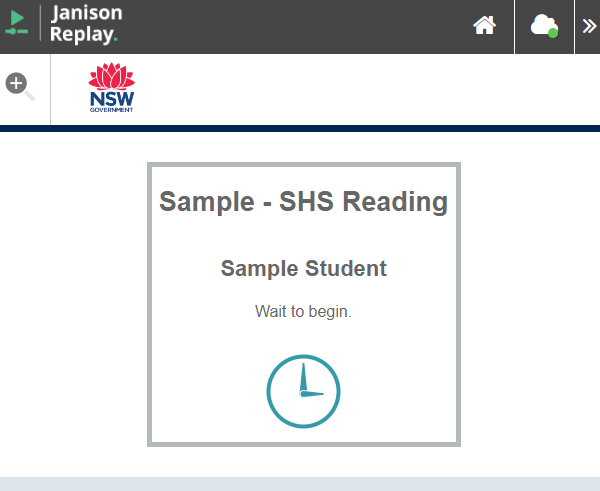
Students will then see the Wait to Begin screen. The Chief Invigilator will announce when the First Invigilator in each section should start the session.
When the Chief Invigilator makes the announcement, click Start Session to begin the test session.

Select Yes to confirm.

The session starts which gives students access to the test. They will then display on the Test Session Administration dashboard.
This is the First Invigilator’s Responsibility in each section.
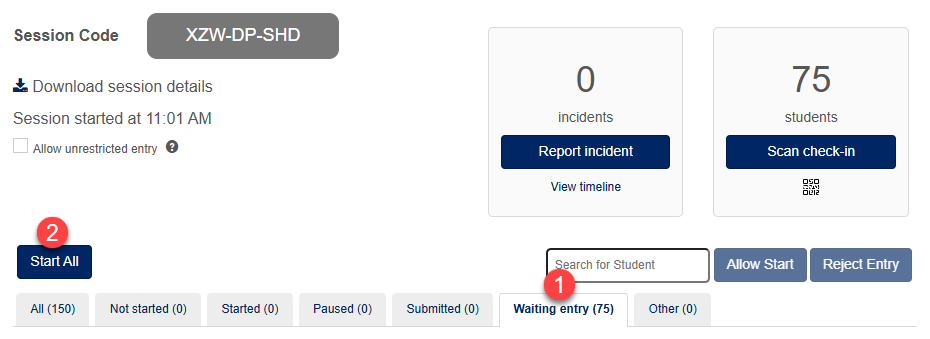
- On the Test Session Administration Dashboard, go to the Waiting Entry tab. Ensure the counter on the tab matches the number of students attending in your section. In this example there are 75.
- When ready, click the Start All button to grant students access to the test.
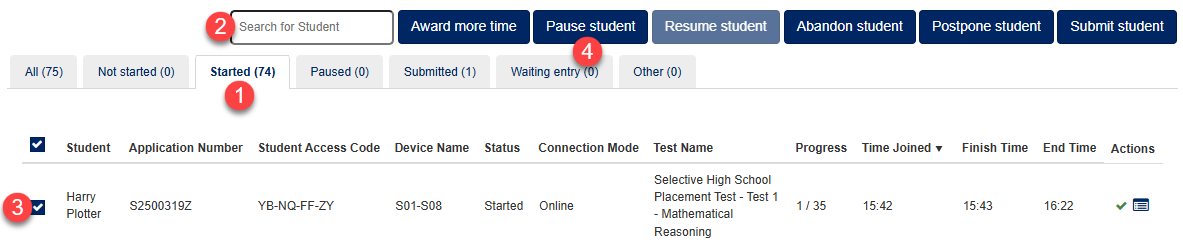
The session will update, and all students previously marked as Waiting Entry will now show a status of Started.

Admit students to the Writing Test (SHS test only)
The steps to admit students to the Writing Test are the same as those outlined above for the Mathematical Reasoning Test.
This is the First Invigilator’s Responsibility in each section.
- On the Test Session Administration Dashboard, go to the Waiting Entry tab. Ensure the counter on the tab matches the number of students attending in your section. In this example there are 75.
- When ready, click the Start All button to grant students access to the test.
The session will update, and all students previously marked as Waiting Entry will now show a status of Started.
Follow the standard Check-In process to admit the student and enter them into the session.
Once the student enters their Student Access Code and reaches the Wait to Begin page, the Invigilator must access the Test Session Administration Dashboard to grant the student access.
- On the Test Session Administration Dashboard, navigate to the Waiting entry tab.
- Select the Student.
- Select Allow start.

The student’s device will update, and the Test will be displayed.
Pause student
You can pause a student from the Test Administration Dashboard if required. Pausing a student temporarily stops the test timer and prevents them from accessing the test.
- On the Test Session Administration Dashboard, navigate to the Started tab.
- Search for the Student (optional).
- Select the Student.
- Select Pause student.
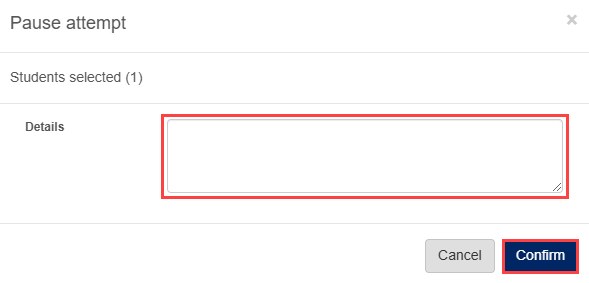
The Pause attempt pop-up is displayed, fill in the required information in the Details field, then Confirm to continue.
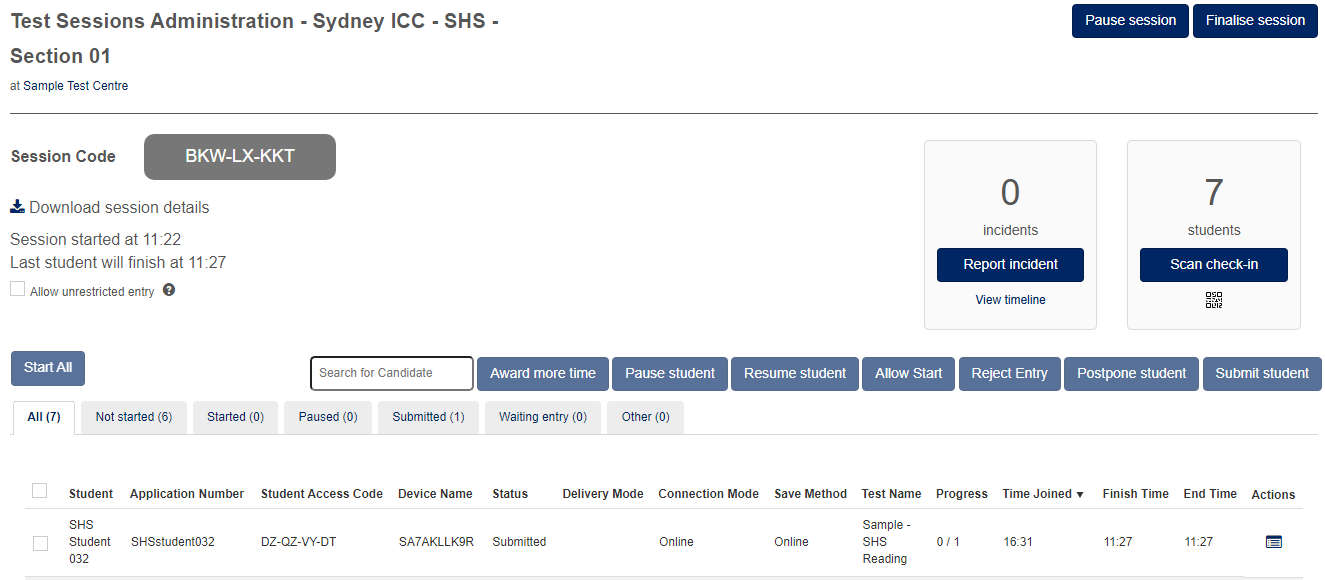
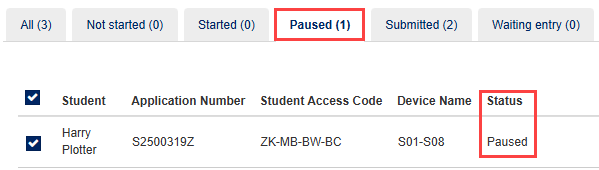
The students attempt will now update to show on the Paused tab with a Status of Paused.
The student device will display a message to the student that their attempt has been paused.

Resume Student
- On the Test Session Administration Dashboard, navigate to the Paused tab.
- Select the Student.
- Select Resume student.

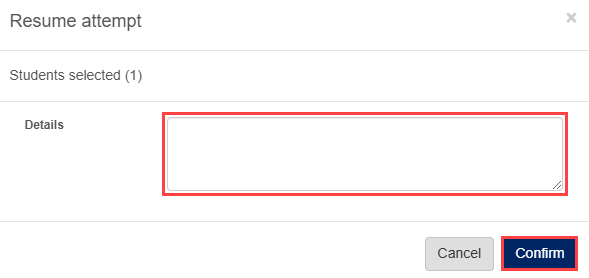
The Resume attempt pop-up is displayed, fill in the required information in the Details field, then Confirm to continue.
The students attempt will now update to show as Started, and they are returned to the test.
You can submit a student from the Test Administration Dashboard if required.
- On the Test Session Administration Dashboard, navigate to the Started tab.
- Search for the Student that requires manual submission (optional).
- Select the Student.
- Select Submit.

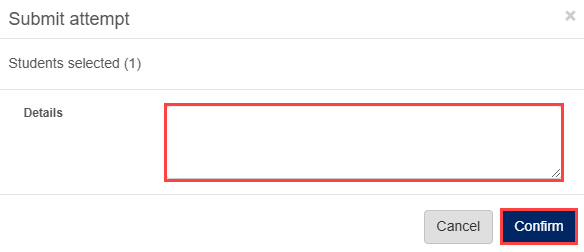
The Submit Attempt pop-up appears.
Fill in the required information in the Details field, then Confirm to continue.
A success message appears. Select Ok to return to the Test Session Administration screen.

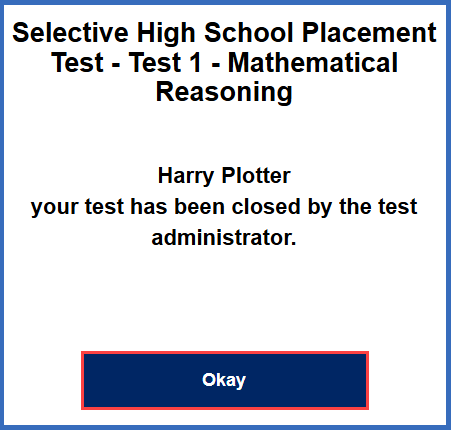
The 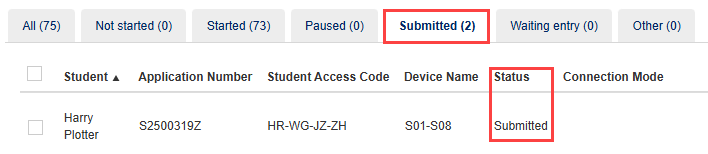
The student’s device will stop the test and display this message, select Okay to return to the Start a Test page.